
⏱ 1 min read
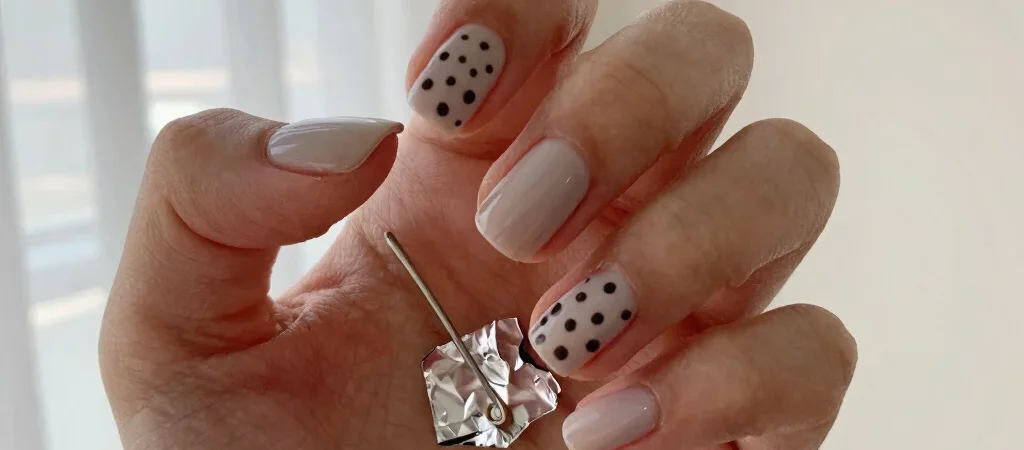
For tiny polka dots, the rounded end of a bobby pin works as a simple dotting tool. The trick is to use less polish than you think and let the base color dry fully first. Keep a scrap of paper or foil nearby for testing the dots before they go on your nails.
Choose a simple color pairing
A pale base with one darker color makes the pattern easy to see, while two soft shades keep it subtle. Paint your base color in thin coats and wait until it is dry before adding dots; otherwise, the pin can drag the polish underneath. Have your bobby pin and dot color within reach before opening the bottle.
Place dots one at a time
Dip only the rounded tip of the pin into the dot color, then test it on your scrap surface. Touch the pin straight down onto the nail and lift it straight back up rather than dragging it. Reload the pin every few dots so the marks stay similar in size, and leave a little breathing room between them.
Keep the pattern relaxed
A row of dots near the cuticle or a loose pattern on one accent nail is easier to place than a perfectly even grid across every finger. If a dot looks uneven, let it dry and cover it with a small dab of base color before trying again. Finish with top coat only after the dots have set, using a light touch so the design stays crisp.