
⏱ 1 min read
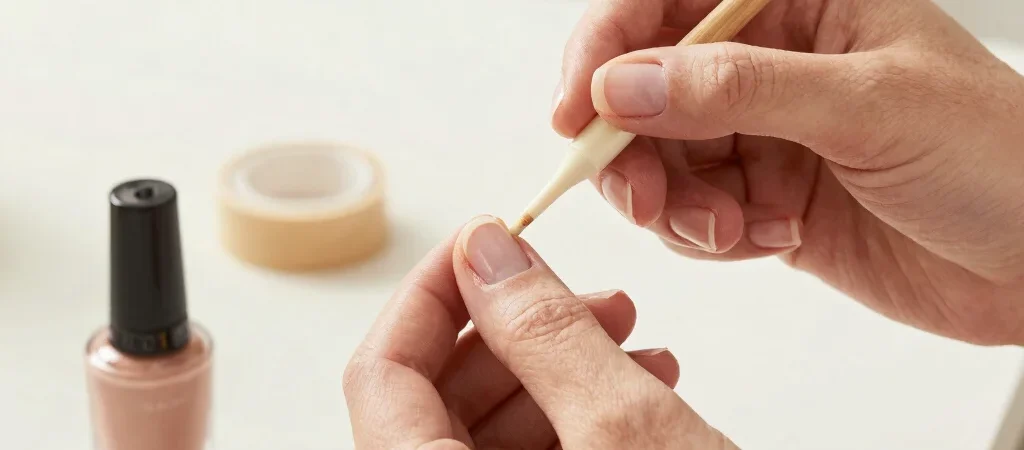
A French tip does not have to be drawn freehand. A small piece of low-tack tape can mark where the colored tip begins, making the shape easier to repeat across your nails. Set out your base shade, tip color, tape, and top coat before you begin.
Let the base dry completely
Shape your nails and apply a thin base coat, followed by one or two thin layers of your chosen base shade. Wait until the color is fully dry before placing tape over it; a surface that still feels tacky can lift or smudge. If you are unsure, test the tape on one nail first.
Make a guide for each tip
Tear a short piece of tape and place it just below the free edge of the nail, leaving the tip exposed. Press the tape edges down gently so polish is less likely to seep underneath, without stretching the tape across the nail. Repeat the placement finger by finger, adjusting the curve to suit each nail.
Paint and lift the tape
Brush a thin coat of tip color over the exposed edge, then add a second light coat if you want more coverage. Carefully lift the tape while the tip color is still wet, pulling away from the painted edge. After the design dries, add top coat to bring the base and tips together; if one edge is imperfect, a little variation is part of a handmade manicure.